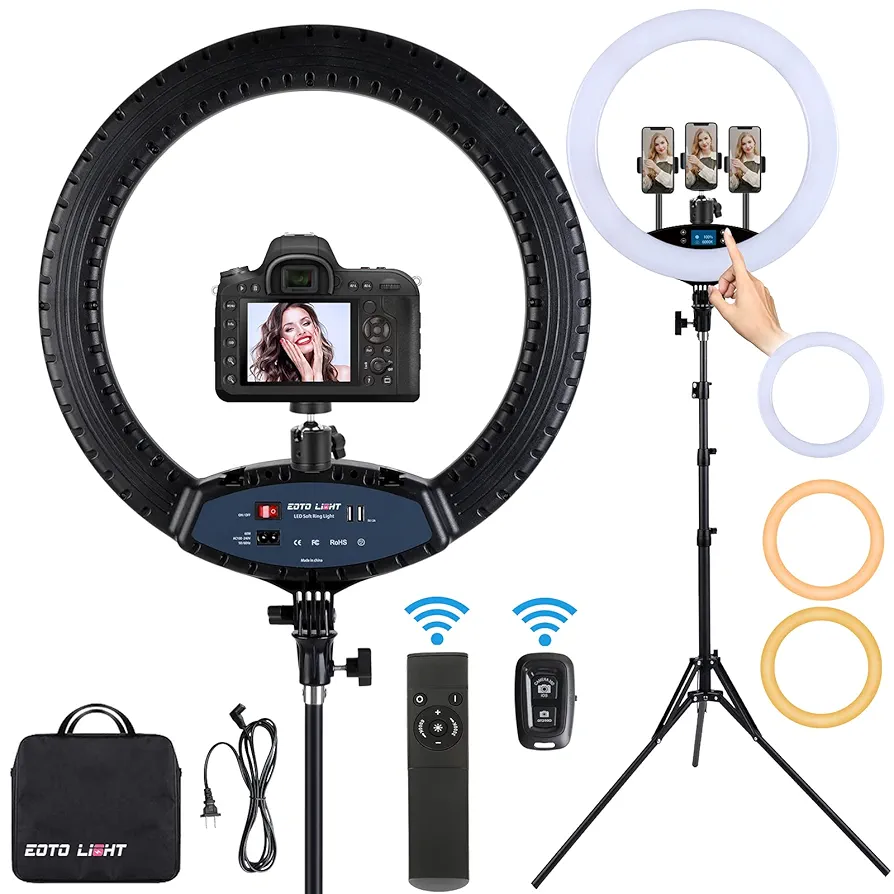
Ring light portrait photography is a technique that uses a circular light source to create soft, nearly shadowless illumination on a subject.
From my experience, it is exceptionally flattering for portraits because it minimizes skin textures and creates a distinctive, circular catchlight in the eyes, adding life and focus to the image.
When I first started, I thought ring lights were just for vloggers and makeup tutorials.
I quickly learned they are one of the most versatile and creative tools a portrait photographer can have, especially if you think beyond the traditional setup.
What I want to show you is how to move past simply placing the camera in the middle and unlock truly unique lighting styles.
Getting Started: Your Basic Setup & Settings
Before we get into the creative setups, it’s crucial to get the fundamentals right.
Controlling the light is everything in photography, and with a constant light source like an LED ring light, the process is a bit different from using a flash.
A common mistake I see is photographers trying to overpower bright room lights with a consumer-grade ring light.
These LED lights often don’t have enough power to do that.
The secret is to take control of your environment first.
Here’s how I handle it: I close all the curtains, turn off all the room lights, and make the ring light the only significant light source.
This gives me complete creative control over the shadows and highlights on my model.
My Go-To Camera Settings for Ring Light Portraits
With the ambient light controlled, my camera settings become much more predictable.
My main goal is to avoid blur from my own movement or the model’s.
- I set my shutter speed to at least 1/200th of a second.
- I adjust my International Organization for Standardization (ISO) up or down to get the right exposure as I move the light.
- I change my aperture based on the desired depth of field for the shot.
I constantly watch these 3 settings, but keeping that shutter speed fast is my top priority.
3 Creative Ring Light Setups I Use for Portraits
Now for the fun part. Here are 3 simple but powerful ways I use a ring light that go beyond the standard “light on the face” look.
Technique 1: Create a Dramatic Wall Silhouette
This setup uses the ring light to paint a circle of light onto the background, creating a perfect frame for a silhouette or a high-contrast portrait.
Here is my process:
- Place the ring light right up against a plain wall.
- Have the model stand about a foot in front of the light, between the light and your camera.
- Position the model to either face the wall for a clean silhouette or step back into the edge of the light for a dramatic side-lit portrait.
What I’ve learned is that a tiny shift in the model’s position, even just a few inches back or forward, can completely change the look and feel of the image.
Technique 2: Use the Ring Light as a Background Element
For this shot, the ring light itself becomes a key visual element in the frame, creating a halo effect behind the subject.
Here is how I set it up:
- Place the ring light on its stand behind where the model will be.
- I use a black fabric background to absorb any extra light spill and ensure the ring light is the only thing visible behind the model.
- I often add a second, smaller light, like an LED tube, from the side or above to create separation and a hair light. This prevents the model from blending into the dark background.
This setup works incredibly well for profile shots, creating a futuristic or ethereal mood.
Technique 3: Use the Ring Light as an In-Frame Prop
This is my favorite way to get truly interactive and unique portraits. I take the ring light off the stand and have the model hold it directly.
Here is the setup:
- Light the scene with 2 other lights, like LED tubes, placed on either side of the model to create strong edge lighting.
- Hand the ring light to the model to hold.
- The model can now use the ring light to illuminate their own face, holding it like a halo, framing their face, or interacting with it in other creative ways.
Because the model is holding the main light on their face, you get a beautiful, soft glow and a dynamic pose that feels authentic and unscripted.
Final Verdict: The Godox LR120 Ring Light
The Godox LR120 is an ultra-lightweight, 12-inch LED ring light designed for maximum versatility and ease of use.
It is powered via a simple USB connection, making it compatible with power banks, laptops, or standard wall adapters.
This feature makes it exceptionally portable for content creators and photographers working on location.
The light offers adjustable brightness levels and a color temperature that renders skin tones in a pleasing, natural way.
Its primary design allows for a camera or smartphone to be mounted in the center for direct, even lighting, which is ideal for vlogging, streaming, and makeup application.
However, its lightweight build and simple controls also make it a superb tool for creative photographers looking for an affordable, portable light source to use as a prop, a background element, or a secondary fill light in more complex portrait setups.
